


Installation Tips for 5 Pin Waterproof Connectors: A Step-by-Step Guide to Reliable Connections
Release Time:
2026-01-25
Installation Tips for 5 Pin Waterproof Connectors: A Step-by-Step Guide to Reliable Connections
In the world of electrical systems, the need for reliable connections cannot be overstated, especially when it comes to outdoor or high-moisture environments. **5 pin waterproof connectors** provide the necessary security to ensure your connections remain intact and free from moisture intrusion. This guide will walk you through the installation process step by step, highlighting essential tips and best practices to achieve the best results.
Table of Contents
1. Understanding 5 Pin Waterproof Connectors
2. Importance of Proper Installation
3. Tools and Materials Required
3.1 Essential Tools
3.2 Materials Needed
4. Step-by-Step Installation Process
4.1 Preparation
4.2 Wiring the Connector
4.3 Sealing and Testing
5. Common Mistakes to Avoid
6. Maintenance Tips for Longevity
7. Frequently Asked Questions (FAQs)
8. Conclusion
1. Understanding 5 Pin Waterproof Connectors
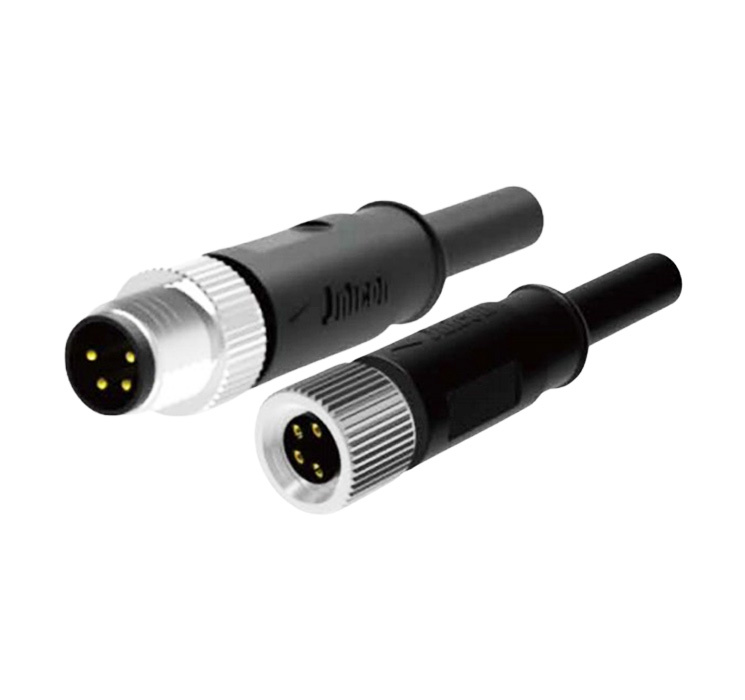
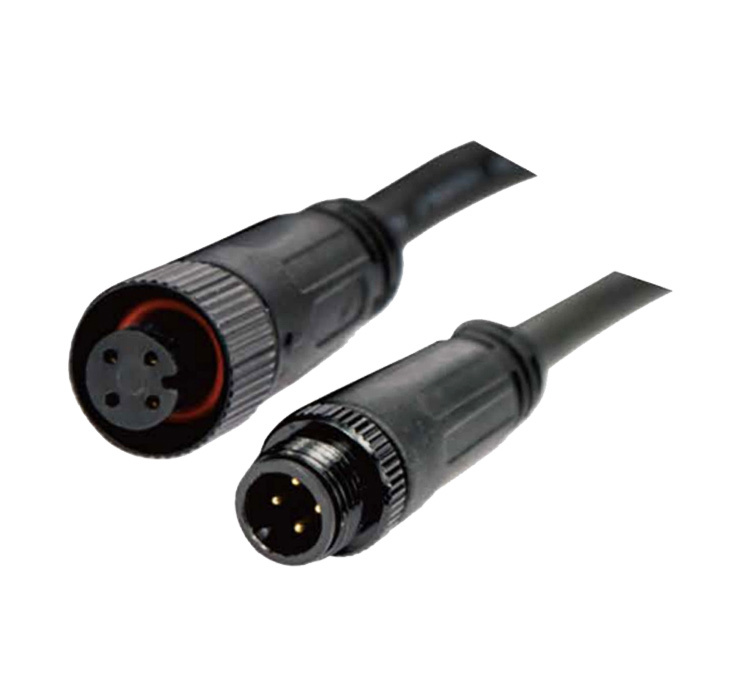
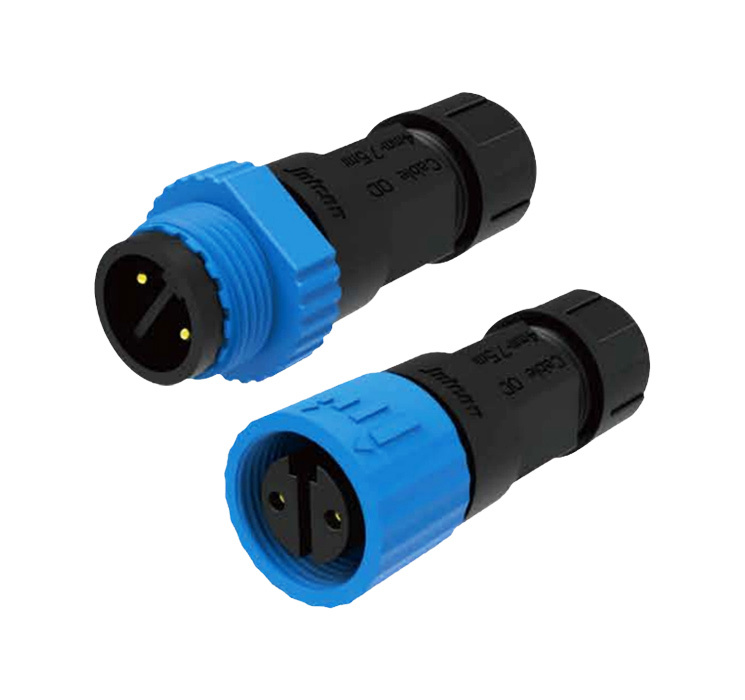
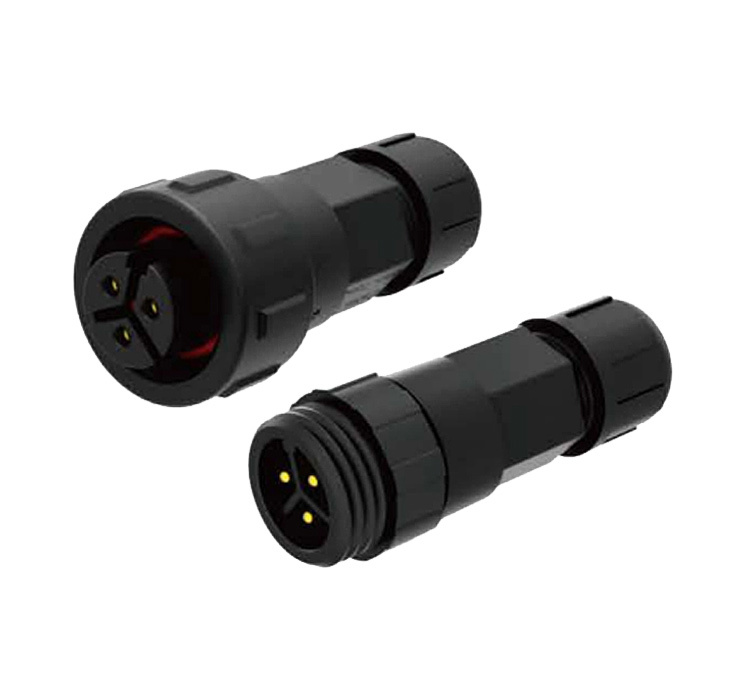
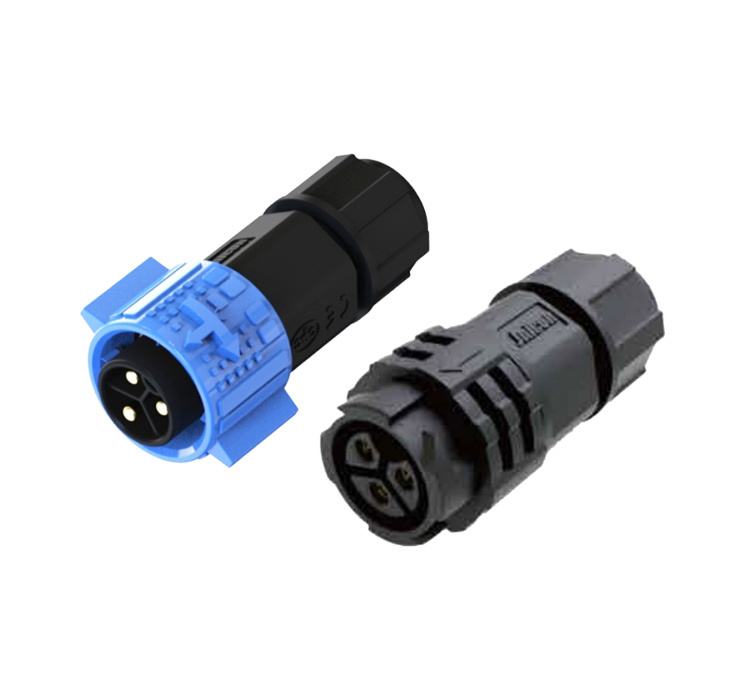
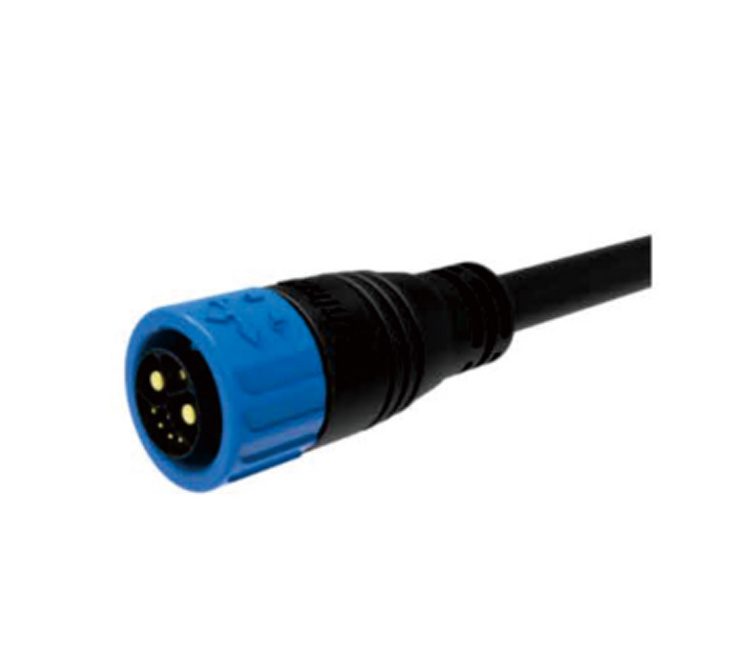
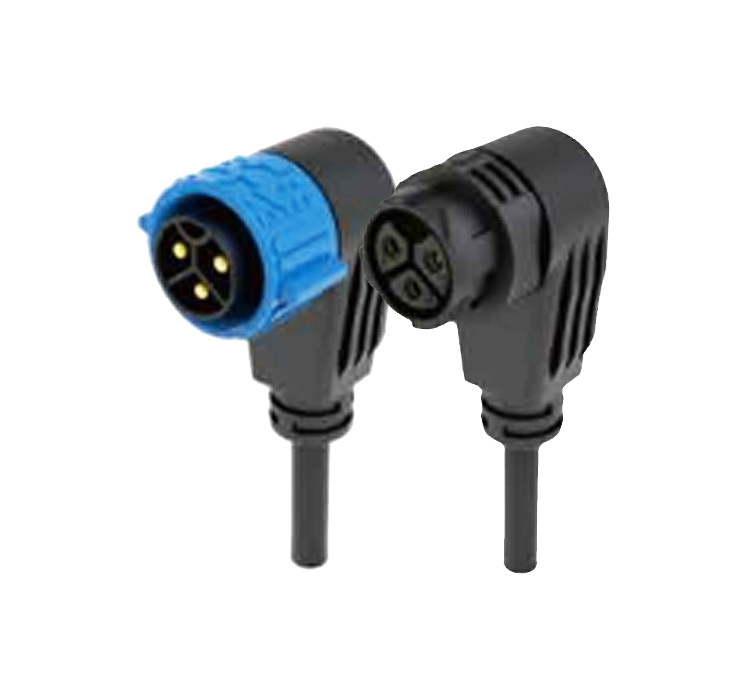
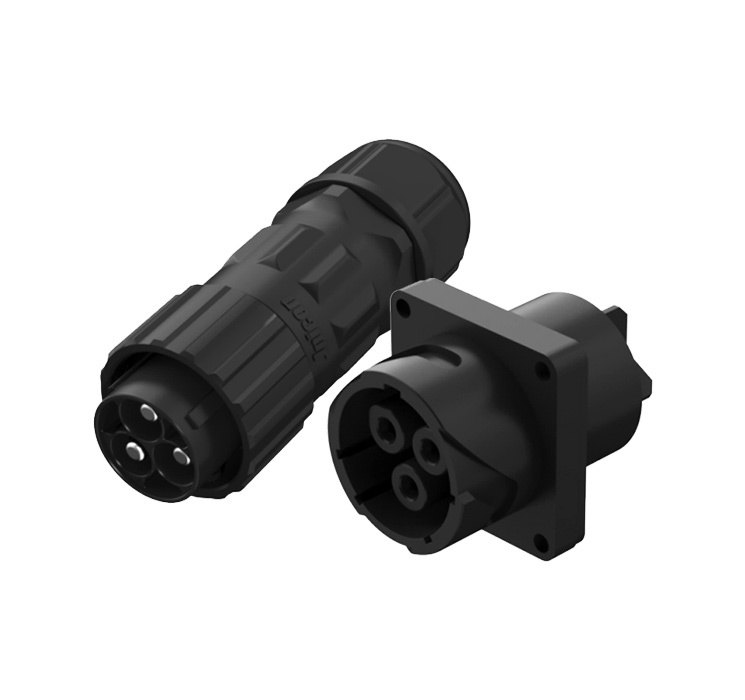
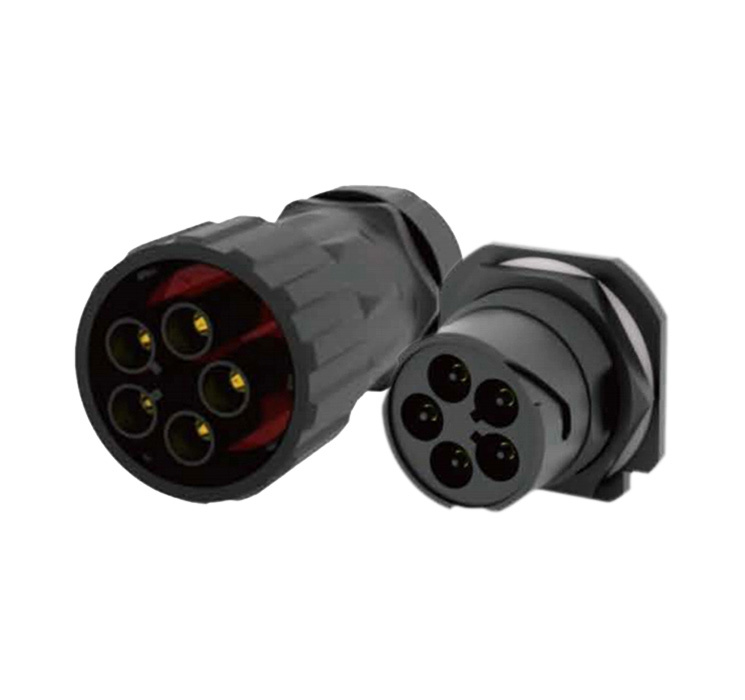
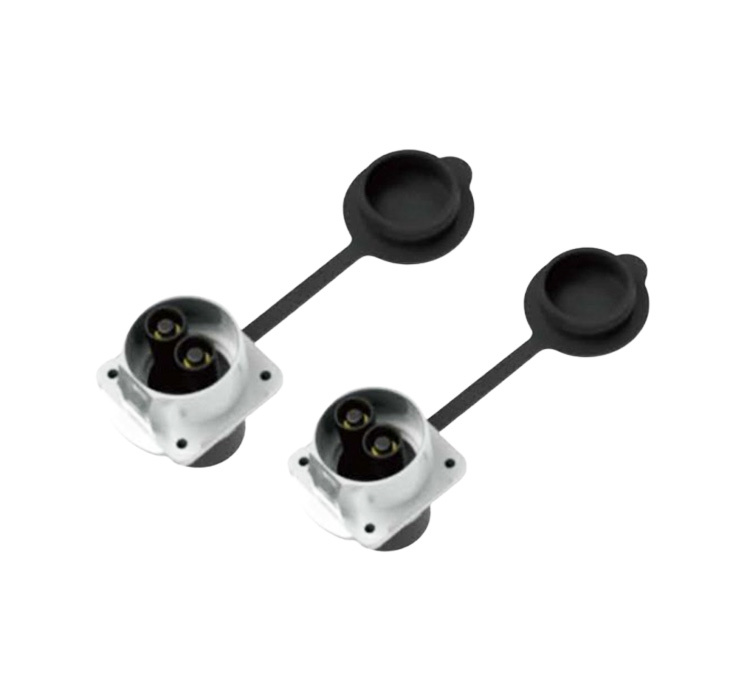
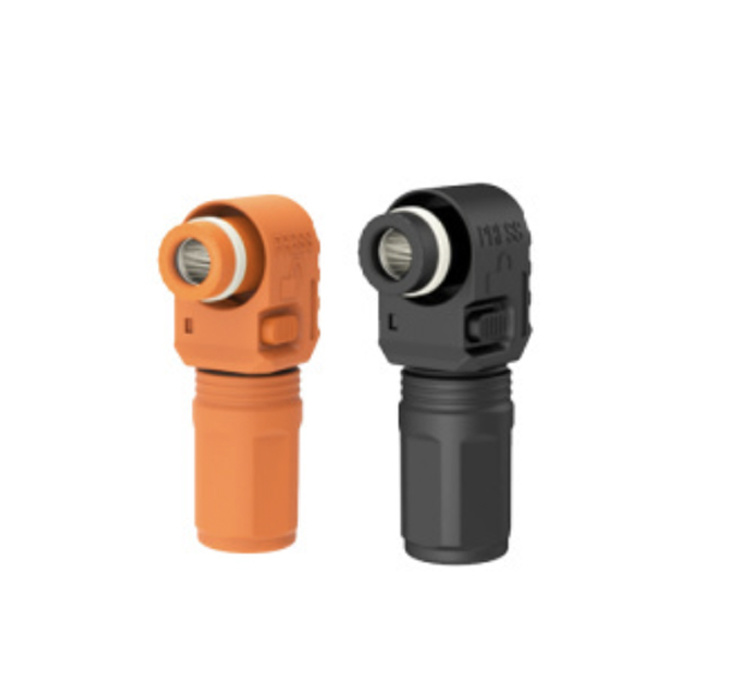
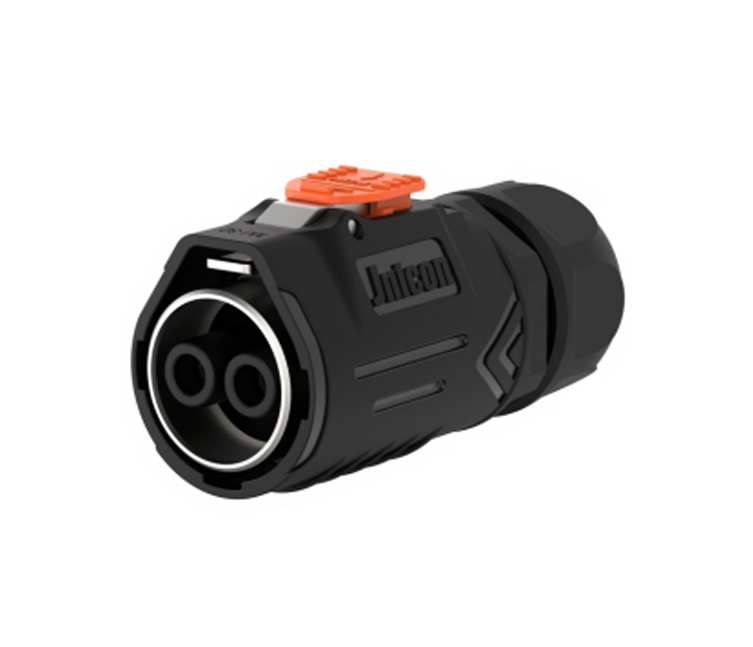
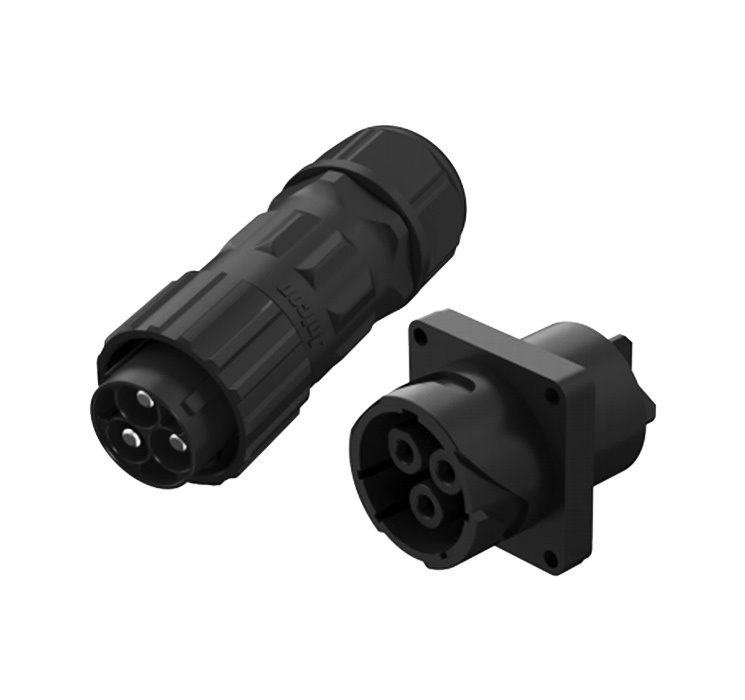
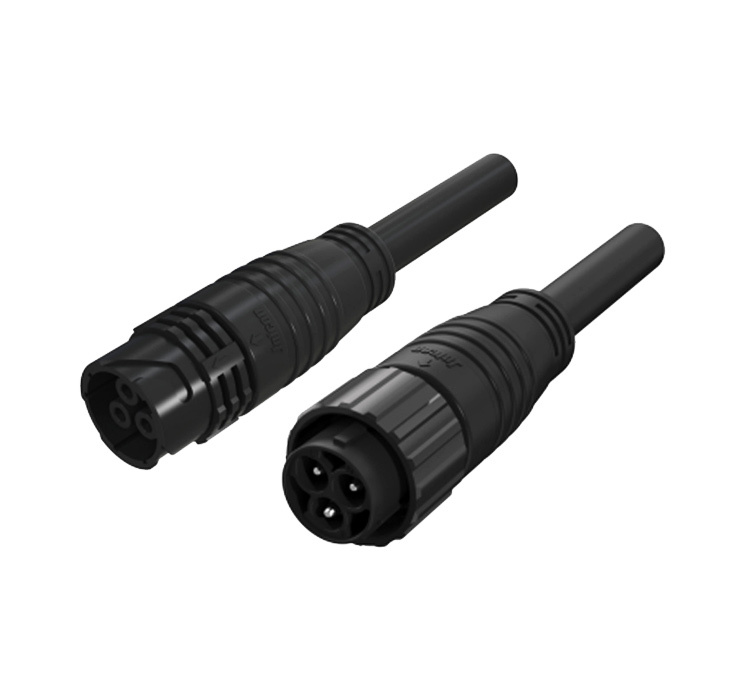
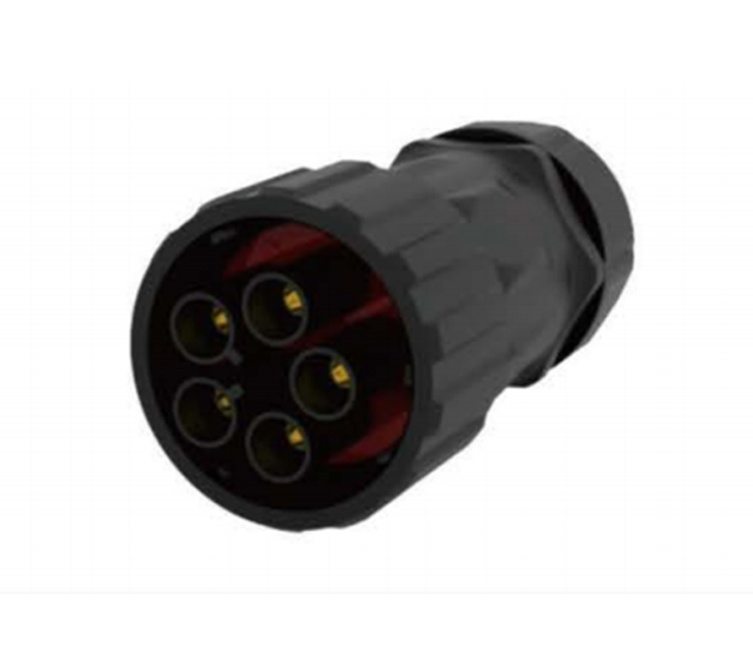
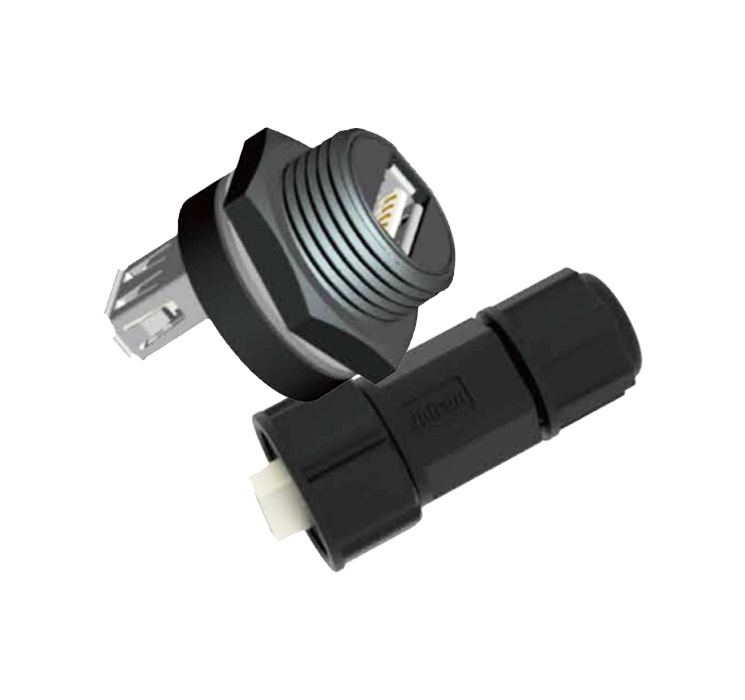
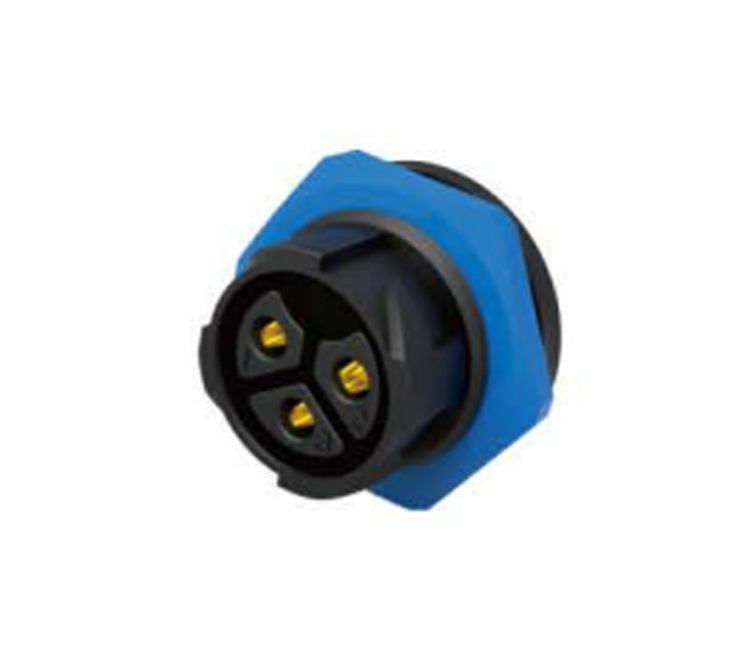
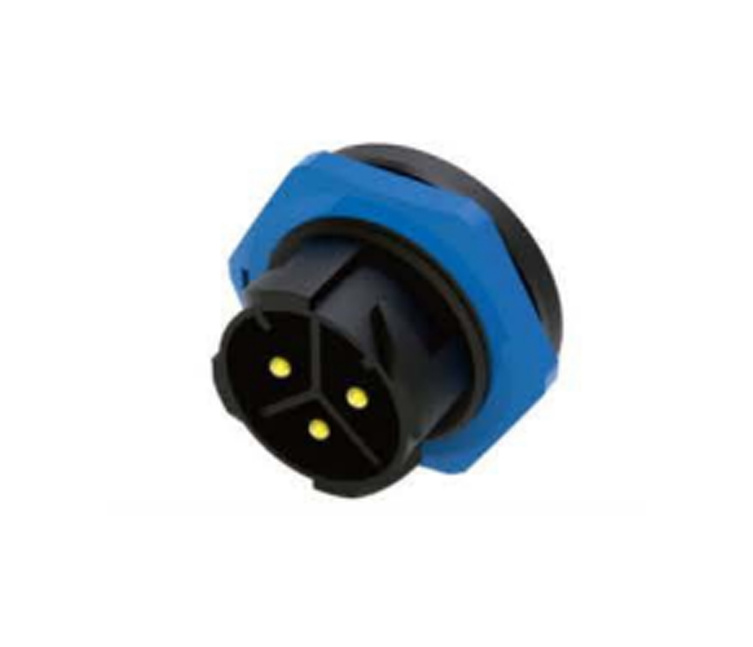
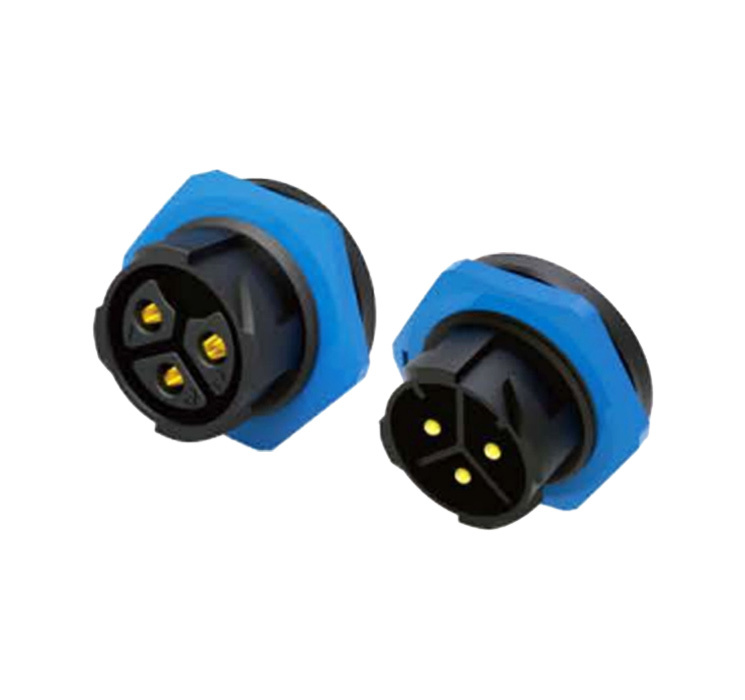
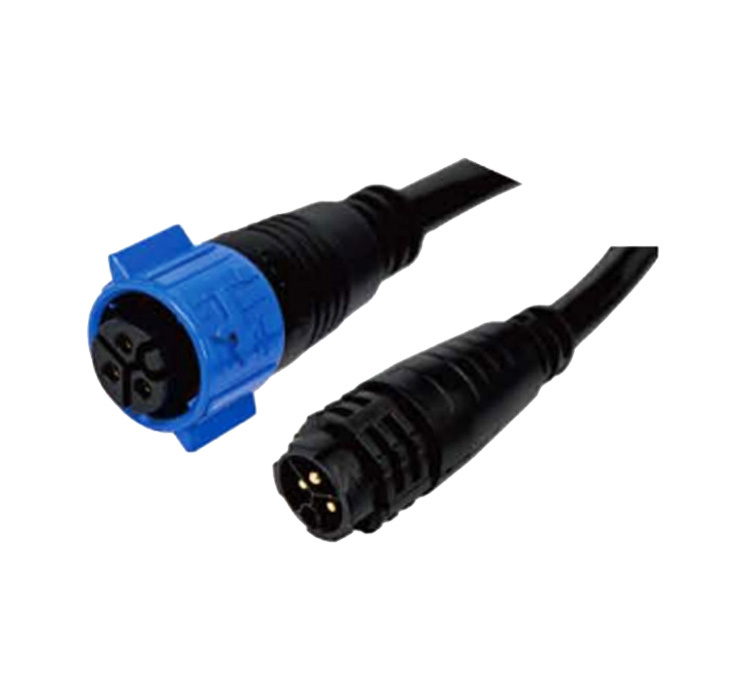
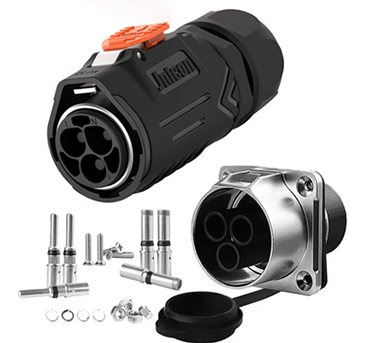
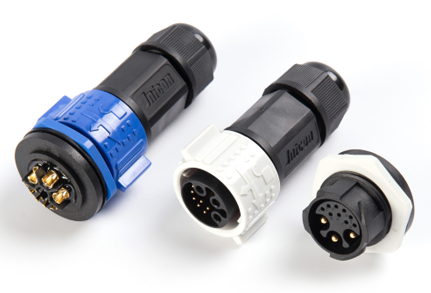
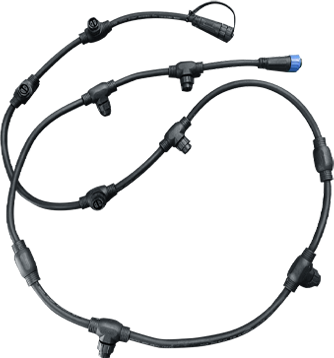
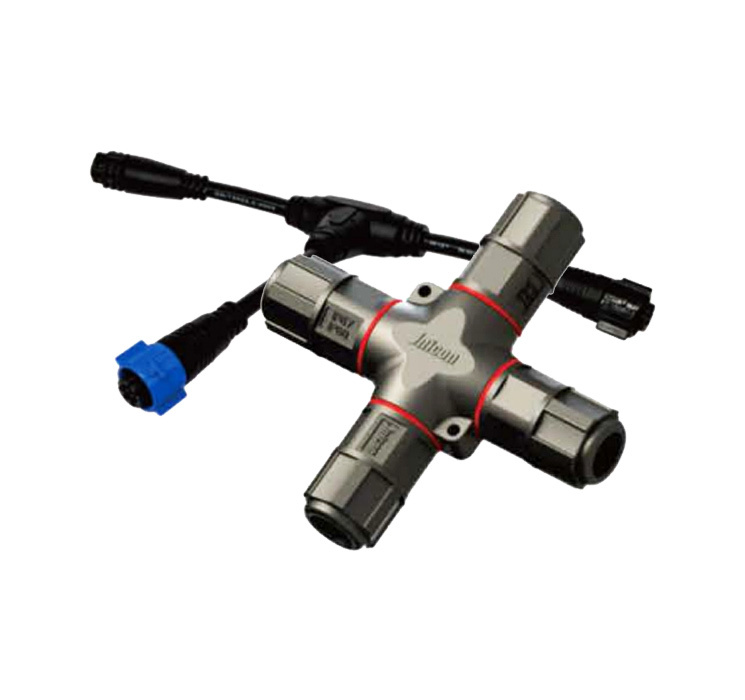
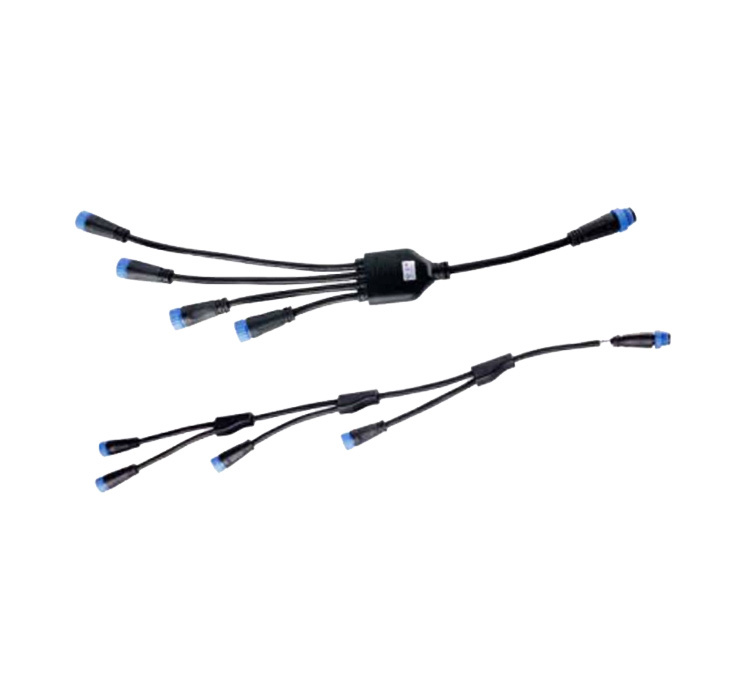
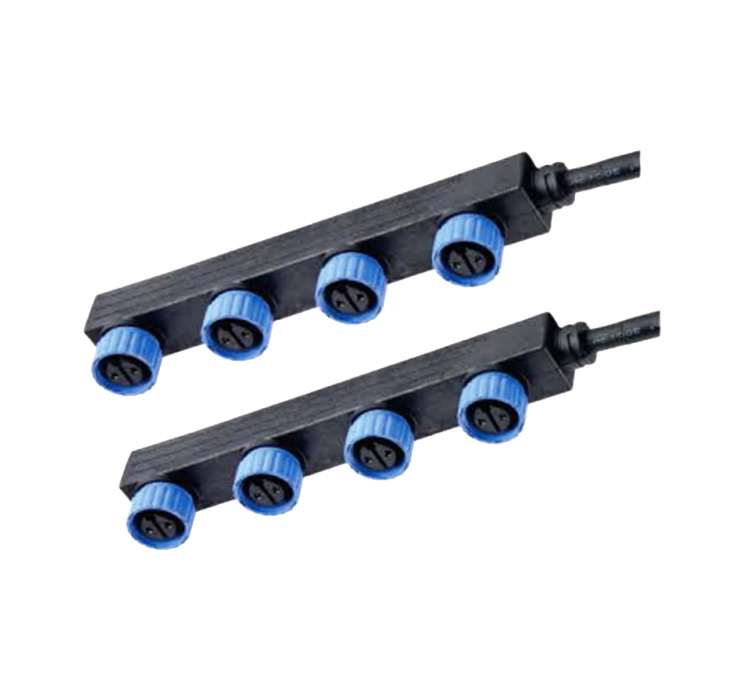
5 pin waterproof connectors are designed for applications requiring a secure and moisture-resistant connection. They are commonly used in automotive, marine, and outdoor electrical systems. These connectors typically consist of five pins or terminals housed within a durable plastic shell that prevents water ingress. Understanding the components of these connectors is vital for effective installation.
2. Importance of Proper Installation
Improper installation of 5 pin waterproof connectors can lead to various issues, including electrical shorts, corrosion, and ultimately, system failure. Ensuring a secure connection not only enhances the performance of your electrical system but also extends its lifespan. Moreover, waterproof connectors are crucial in safeguarding sensitive electrical components from environmental factors, making proper installation paramount.
3. Tools and Materials Required
Before starting the installation, gather all necessary tools and materials to ensure a smooth process.
3.1 Essential Tools
- Wire strippers
- Crimping tool
- Soldering iron (if soldering connections)
- Heat gun (for heat-shrink tubing)
- Multimeter (for testing connections)
- Screwdriver set
3.2 Materials Needed
- 5 pin waterproof connectors
- Electrical wires (suitable gauge for your application)
- Heat-shrink tubing (for additional protection)
- Electrical tape
- Sealant (if required)
4. Step-by-Step Installation Process
This section breaks down the installation process into manageable steps to ensure clarity and ease of execution.
4.1 Preparation
1. **Identify the wires**: Before you begin, ensure you know the function of each wire that will connect to the pins. Typically, colors indicate their purpose (e.g., red for power, black for ground).
2. **Cut and strip wires**: Using wire strippers, cut the wires to the desired length, allowing extra length for maneuvering. Strip approximately 1/2 inch of insulation off the ends of each wire.
4.2 Wiring the Connector
1. **Insert wires into connector**: Select the appropriate pin for each wire and insert the stripped end into the corresponding hole. Ensure that the wire seat is fully engaged with the pin.
2. **Crimping or soldering**: Use the crimping tool to secure the wire to the pin firmly. If you prefer soldering, heat the soldering iron and apply solder to create a solid connection. Ensure no excess solder drips into the connector housing.
3. **Secure the connector**: Once all wires are connected, insert the pins into the connector housing. Ensure they click into place, indicating a secure fit.
4.3 Sealing and Testing
1. **Apply heat-shrink tubing**: If you have used heat-shrink tubing, position it over the exposed wire before heating it with a heat gun to create a tight seal.
2. **Test the connection**: Use a multimeter to check for continuity between the wires. Ensure there are no shorts and that each wire corresponds accurately to its intended terminal.
3. **Seal the connector (if necessary)**: If further waterproofing is needed, apply a sealant around the connector to enhance protection against moisture.
5. Common Mistakes to Avoid
1. **Ignoring wire gauge**: Always select the appropriate wire gauge for your application. Using a wire that's too thin can lead to overheating, while overly thick wires can be challenging to handle.
2. **Insufficient wire stripping**: Leaving too much insulation on the wire can prevent a proper connection, while stripping too much can lead to shorts.
3. **Over-crimping or under-crimping**: Striking the right balance when crimping is essential. Over-crimping can damage the wire, while under-crimping can lead to a loose connection.
6. Maintenance Tips for Longevity
To ensure your 5 pin waterproof connectors remain effective over time, consider the following maintenance tips:
- **Regularly inspect connections**: Check for signs of wear or corrosion, especially in outdoor applications.
- **Reapply sealant as needed**: If you notice any damage to the sealant, reapply to maintain waterproof integrity.
- **Clean connectors**: Use a soft brush or compressed air to remove debris and dirt buildup.
7. Frequently Asked Questions (FAQs)
**Q1: Can I use 5 pin waterproof connectors in extreme temperatures?**
A1: Yes, but ensure you select connectors rated for the specific temperature ranges of your application.
**Q2: What should I do if I experience intermittent connections?**
A2: Inspect the connections for corrosion, loose wires, or faulty pins, and re-crimp or solder as necessary.
**Q3: Can I reuse waterproof connectors?**
A3: While it's possible, ensure you check the integrity of the connectors and wires before reusing them. Damaged components should be replaced.
**Q4: Are there specific brands recommended for waterproof connectors?**
A4: Various reputable brands offer high-quality waterproof connectors. Research and read reviews to find those that suit your needs.
**Q5: Is it necessary to use heat-shrink tubing?**
A5: While not mandatory, heat-shrink tubing adds an extra layer of protection against moisture and abrasion, enhancing the overall durability of your connections.
8. Conclusion
Installing 5 pin waterproof connectors may seem daunting, but with the right tools, materials, and a clear step-by-step process, anyone can achieve a secure and moisture-resistant connection. Prioritizing proper installation not only enhances the longevity of your electrical systems but also safeguards them from environmental hazards. By following the tips and guidelines outlined in this guide, you can feel confident in your ability to execute a professional installation that stands the test of time. Embrace the reliability and durability of 5 pin waterproof connectors in your next project, and ensure your electrical connections are built to last.
Previous
News
2026-10-03
Understanding Waterproof Cables: Essential Insights for Electrical Professionals
Waterproof cables are vital components in the electric and electronic industries, especially when it comes to ensuring safe and reliable connections in challenging environments. These cables are designed to resist moisture and prevent water ingress, which can lead to electrical failure and safety hazards. Understanding the intricacies of waterproof cables is essential for electrical professionals
2026-09-30
Discover the Advantages of Using 2 Pin Waterproof Connectors in Harsh Environments
Discover the Advantages of Using 2 Pin Waterproof Connectors in Harsh Environments Table of Contents 1. Introduction to 2 Pin Waterproof Connectors 2. Importance of Waterproof Connectors 3. Design Features of 2 Pin Waterproof Connectors 4. Applications in Various Industries 5. Benefits of Using 2 Pin Waterproof Connectors 6. Installation Guidelines for 2 Pin Waterproof Connectors 7.
2026-09-27
Understanding Industrial Power Connectors: Key Insights for Professionals
Industrial power connectors play a crucial role in the safety and efficiency of electrical systems across various sectors, including manufacturing, energy, and transportation. These connectors are designed to facilitate the transmission of electrical power in rugged environments, ensuring reliable and stable connections. Understanding the types, applications, and selection criteria for industrial

B8-9, Fubilun industrial park, Chaoyang rd,Yanchuan community, Songgang, Shenzhen, China


